
Intake & Questionnaire Workflow
To get started with your intake & questionnaire workflow, you first have to create an intake or questionnaire. Currently, Sprintforms has the following available:
Note: You may also have custom questionnaires available only to your firm on specific plans.
To create a questionnaire and send it to your client, follow these steps:
Step 1: Choose your questionnaire
Check the box next to the questionnaire you'd like to create.

Note: To get the best results on your resulting forms, we recommend using the questionnaire that matches the application type you will ultimately use the information on (e.g. if your client is doing a work permit outside Canada application, we recommend using the work permit questionnaire for outside Canada.
Step 2: Assign your client
Now that you've chosen your questionnaire, assign the client that this questionnaire belongs to.
For this example, we've assigned our questionnaire to "Test Client", and have left "assigned practitioner" to myself.

Step 3: Review Your Selection
The last step is to review your selections and your order details. You may be asked to provide payment details on this screen if you do not have a saved credit card and/or are not on a monthly plan.
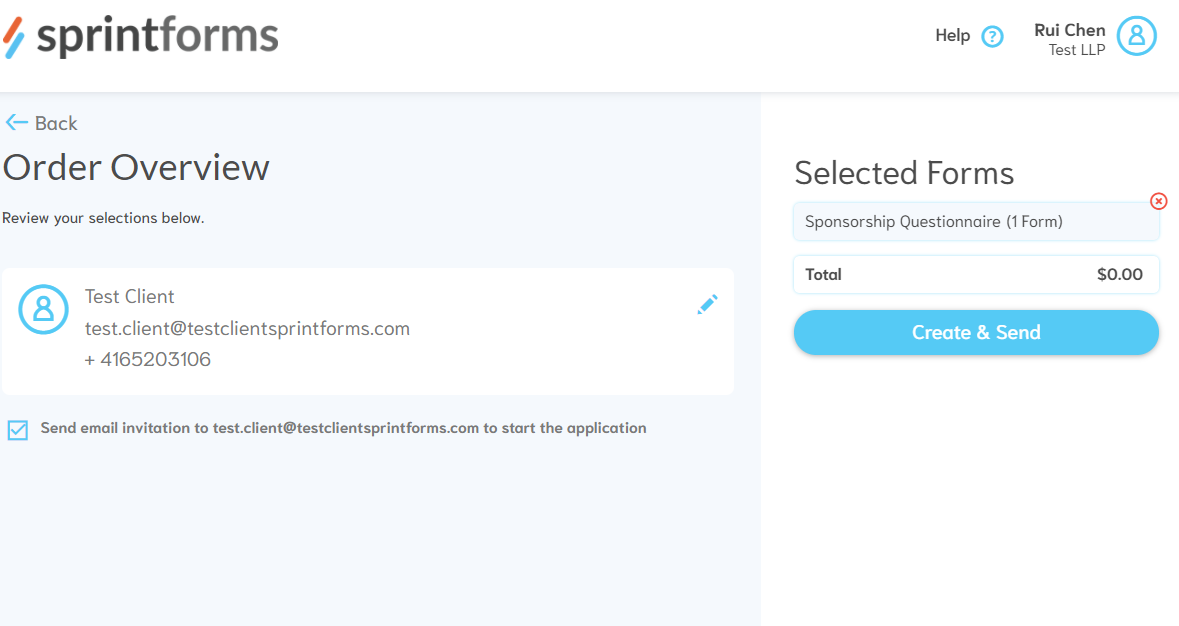
Note: You can also choose not to notify your client of the creation of this intake/questionnaire form, if you'd like to edit the application yourself. You can choose to notify them at a later date via the client information screen.
Once you press "Create & Send" your intake form has been successfully created! You can view the intake form right away, or return to the dashboard.
